The Sit-to-Rise Test: What It Can Tell You About Strength, Mobility and Healthy Aging

The Sit-to-Rise Test: What It Can Tell You About Strength, Mobility and Healthy Aging
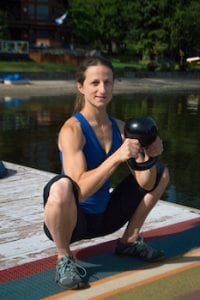
 

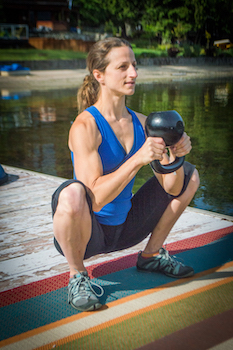
Veronique Rioux holding kettlebell in deep squat position

What Is the Sit-to-Rise Test?

Being able to get down to the floor and back up again is an important functional skill as we age. It requires a combination of strength, balance, mobility, coordination and confidence.

One simple assessment called the Sitting-Rising Test (SRT) looks at how easily a person can sit down on the floor and rise again using as little support as possible.

Research has found that lower SRT scores are associated with higher mortality risk in middle-aged and older adults. That does not mean the test can tell you exactly how long you will live. Instead, it gives us one useful snapshot of musculoskeletal fitness and functional ability.

Why Is the Sit-to-Rise Test Important?

Getting down to the floor and standing back up involves several physical qualities at once: leg and hip strength, balance, flexibility, coordination and body control.

These qualities also support many everyday activities and can become increasingly important as we age. Being confident moving to and from the floor can also be useful if you need to kneel, play with children, garden or recover after a fall.

What Research Tells Us About the Sit-to-Rise Test

How the Sitting-Rising Test Is Scored

The traditional Sitting-Rising Test gives up to five points for sitting down and five points for rising back up.

Points are deducted when additional support, such as a hand, forearm or knee, is needed.

A higher score generally reflects greater functional ability. Research has found an association between higher SRT scores and better survival outcomes, but the test should not be treated as a diagnosis or as a personal prediction of longevity.

How to Get Up Safely from the Ground

If getting up from the floor feels challenging, safety matters more than achieving a perfect test score.

  1. Roll onto your side.
  2. Move onto your hands and knees if comfortable.
  3. Bring one foot forward into a half-kneeling position.
  4. Use a sturdy chair, wall or other support if needed.
  5. Press through your legs and stand gradually.

As your strength and confidence improve, you can gradually practice using less assistance when it is safe to do so.

Exercises to Improve Strength, Mobility and Floor Transfers

1. Squats or Sit-to-Stands

Squats and sit-to-stands help build leg strength, coordination and confidence with everyday movements.

Start from a chair if needed. Sit down with control, then press through your feet to stand back up.

If squats bother your knees, you can also read Overcoming Knee Pain During Squats: A Comprehensive Guide.

2. Lunges

Lunges can help strengthen the legs and hips while challenging balance and coordination.

Step forward or backward into a comfortable lunge position, lower with control, and press through your feet to return to standing. Use support if needed.

3. Bridges

Bridges strengthen the glutes and posterior chain while helping you practice hip extension.

Lie on your back with your knees bent and feet on the floor. Press through your feet and lift your hips, then lower with control.

4. Wall Squats

Wall squats can help build endurance in the legs.

Place your back against a wall, slide down into a comfortable squat position and hold. You do not need to go deeply. Choose a position you can maintain with good control.

5. Balance Drills

Balance work can support stability, coordination and confidence.

Try standing on one leg while keeping a wall or sturdy chair nearby for support. Start with a few seconds and gradually build from there.

You can read more in The Importance of Balance as We Age: A Comprehensive Guide to Staying Steady and Strong.

Movement and Well-Being

Regular physical activity can support both physical and mental well-being. Movement can help with mood, stress management, confidence and maintaining independence as we age.

The goal is not simply to achieve a perfect Sit-to-Rise score. It is to keep building the strength, mobility and confidence that help you continue doing the activities that matter to you.

Want to Improve Your Strength and Mobility?

If getting up from the floor feels difficult, or you simply want to stay strong and capable as you age, personalized training can help you work on strength, balance, mobility and functional movement at your own level.

Learn more about Personal Training in Nanaimo with Choose2be.

Keep Building Your Strength and Confidence

The ability to get down to the floor and rise again is a useful functional skill and one possible indicator of overall musculoskeletal fitness.

Rather than worrying about a particular score, use it as information: What feels easy? What feels difficult? Where could you become stronger or more confident?

Strength, mobility and balance can all be practiced and improved over time.
Chaturanga Dandasana: Alignment, Strength and Modifications for a Safer Practice

Chaturanga Dandasana: Alignment, Strength and Modifications for a Safer Practice

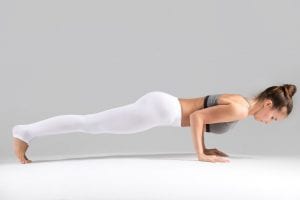
Chaturaga dandasana, four limbed staff pose, yoga alignment​Chaturanga Dandasana, often called Four-Limbed Staff Pose, is a common transition in Vinyasa and Ashtanga yoga.
It can be a useful pose for developing upper-body strength, core control and body awareness, but it also asks a lot from the shoulders, wrists and trunk. For that reason, good technique and appropriate modifications matter.

You do not need to force a deep Chaturanga to get the benefits. Building the strength and control gradually is often the better approach.

Benefits of Chaturanga Dandasana

Chaturanga can help develop strength through the:

  • shoulders
  • triceps
  • chest
  • core
  • wrists and forearms

It can also improve awareness of how your shoulders, ribs, pelvis and trunk work together during weight-bearing movements.

The goal is not to make the pose look a certain way. The goal is to create enough control that you can move through it without collapsing into the shoulders or lower back.

How to Set Up Chaturanga

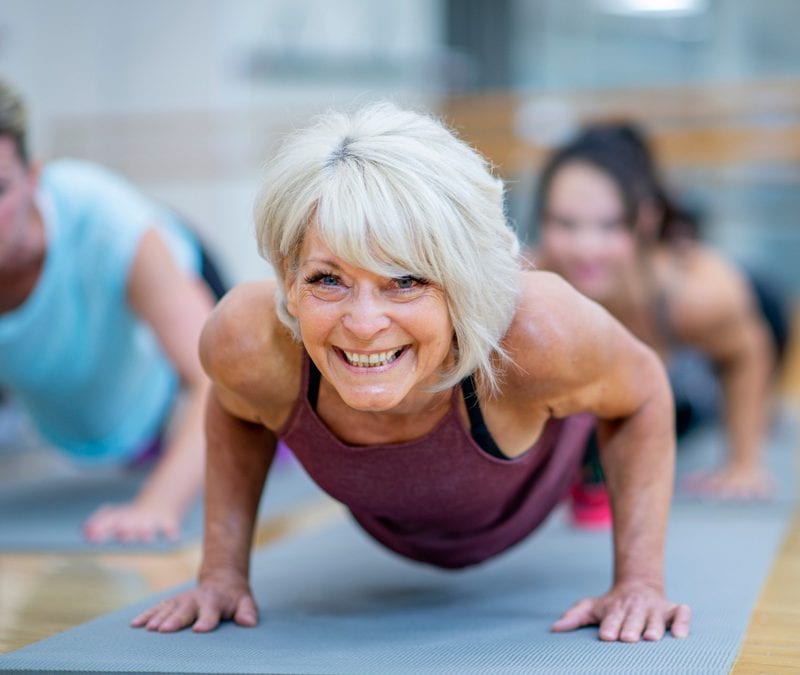
Begin in Plank Pose.

Place your hands approximately under your shoulders with your fingers spread comfortably.

Press through your hands and create length through your body from the crown of your head toward your heels.

Engage your trunk so your ribs and pelvis feel supported rather than allowing your hips to sag toward the floor.

From plank, shift your body slightly forward so your shoulders move somewhat beyond your wrists.

Keep your elbows tracking back alongside your ribs as you begin to lower.

Lower only as far as you can while maintaining control through your shoulders and trunk.

You do not need to lower all the way to a perfect 90-degree elbow bend. Stopping higher is completely appropriate if that is where you can maintain good form.

What to Pay Attention to

A few useful cues include:

  • keep the chest broad rather than collapsing between the shoulders
  • keep the elbows tracking back rather than flaring widely
  • maintain control through the abdomen and pelvis
  • avoid letting the hips drop toward the floor
  • lower only as far as you can maintain strength and stability
  • keep your neck long and comfortable

Everyone’s anatomy is different, so the pose does not need to look identical from one person to another.

Chaturanga Modifications

Knees-Down Chaturanga

From plank, lower your knees to the floor.

Keep your trunk supported and shift slightly forward before bending your elbows.

Lower with control while keeping your elbows relatively close to your sides.

This is an excellent way to practice the movement pattern while reducing the amount of body weight you are supporting.

Practice Against a Wall

Stand facing a wall and place your hands against it around chest or shoulder height.

Step your feet back slightly.

Bend your elbows and bring your body toward the wall, then press yourself away again.

This version allows you to practice shoulder and elbow positioning with much less load.

Use Blocks

You can place yoga blocks underneath your shoulders or chest area as a physical reference point.

Lower only until you gently make contact with the blocks, then press back up.

This can help you practice controlling the depth of the movement.

Common Chaturanga Mistakes

Lowering Too Deeply

You do not need your shoulders to drop well below your elbows.

If you lose shoulder control as you lower, stop higher.

Strength and stability are more important than depth.

Letting the Hips Sag

If your pelvis drops toward the floor, the movement may become less controlled through your trunk.

Try a knees-down version or reduce the depth until you can maintain a more supported position.

Forcing the Elbows In

It is common to hear the cue “hug your elbows tightly into your ribs.”

Keeping the elbows relatively close to the body can be useful, but you do not need to squeeze them unnaturally against your sides.

Allow your elbows to track in a position that feels stable and comfortable for your shoulders.

Moving Too Quickly

In a fast Vinyasa class, it can be easy to move through Chaturanga repeatedly without much attention to technique.

Slowing down occasionally and practicing the movement separately can help you build better strength and awareness.

What If Your Wrists or Shoulders Hurt?

Chaturanga should feel challenging, but it should not create sharp or persistent pain.

If your wrists or shoulders hurt:

  • reduce the depth
  • try the knees-down version
  • practice against a wall
  • reduce how many Chaturangas you perform
  • substitute another transition when needed

If pain persists or you have an existing injury, consider getting individualized guidance from an appropriate healthcare or movement professional.

Build the Strength Gradually

You do not need to master Chaturanga immediately.

Exercises such as planks, incline push-ups, wall push-ups, controlled lowering drills and other upper-body strength exercises can help build the strength needed for the pose over time.

The strongest version of Chaturanga is not necessarily the lowest one. It is the version you can control.

If you enjoy combining yoga with mobility, strength and functional movement, you can learn more about Yoga & Mobility Classes in Nanaimo.

You can also explore Personal Training in Nanaimo if you would like more individualized support with strength, movement and technique.

Pistol Squat Progressions: How to Build Strength, Mobility and Control

Pistol Squat Progressions: How to Build Strength, Mobility and Control

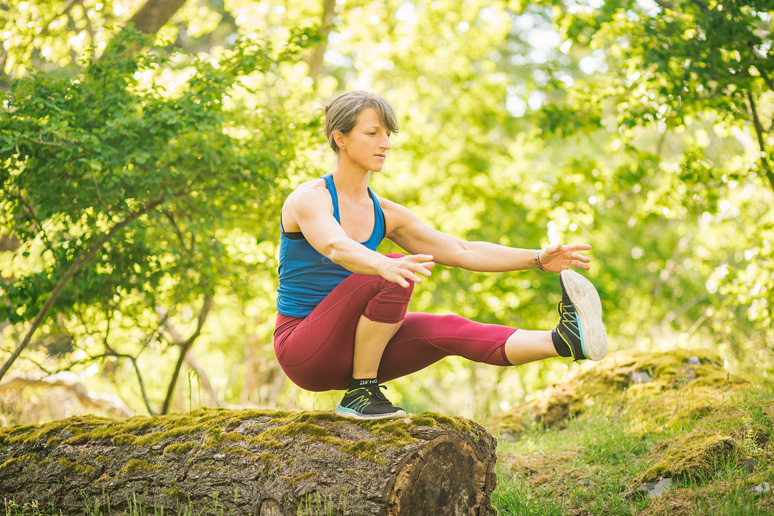
The pistol squat is a challenging single-leg exercise that combines strength, balance, mobility and coordination. It involves lowering into a deep squat on one leg while the other leg stays extended in front of you.

It can be a great goal if you enjoy bodyweight training, but it is not an exercise everyone needs to perform. A pistol squat asks a lot from the ankle, knee and hip, and it is usually best approached gradually rather than forcing the full movement too soon.

Start With a Strong Squat

Before working toward a pistol squat, it helps to be comfortable with a regular squat.

You should be able to lower into a squat with control, keep your feet stable and move through a range of motion that feels comfortable for your hips, knees and ankles.

You do not need a perfect “ass-to-grass” squat before progressing. The important thing is that you can squat with control and without forcing painful positions.

If squats bother your knees, you can also read Overcoming Knee Pain During Squats: A Comprehensive Guide.

Step 1: Single-Leg Sit-to-Stand

A chair or bench is one of the easiest ways to begin.

Stand in front of a chair, shift your weight onto one leg and extend the other leg slightly forward. Slowly lower toward the chair, sit down with control, then stand back up using your working leg as much as you comfortably can.

If needed, use your hands or the non-working leg for assistance.

As you get stronger, gradually use a lower chair or reduce the amount of assistance.

Step 2: Supported Pistol Squats

Holding onto a stable support can allow you to practice the movement without needing all of the balance and strength at once.

You can hold a sturdy post, suspension trainer, railing or other secure support. Extend one leg forward and slowly lower into a comfortable single-leg squat.

Use your arms only as much as needed, then gradually reduce the assistance as your strength improves.

Step 3: Practice the Lowering Phase

The eccentric, or lowering, portion of a pistol squat is a useful way to build strength.

Stand on one leg and lower yourself slowly toward a bench or the floor. Try to control the movement for several seconds.

Once you reach the bottom, you can place both feet down and stand back up using two legs.

This lets you practice the difficult lowering portion without requiring enough strength to complete the entire movement yet.

Step 4: Rolling Pistol Progression

Another option is to use a controlled backward roll to help practice the bottom position and transition back to standing.

Lower into a deep squat, roll gently onto your back, then use your momentum to return toward a squat or standing position.

Once that feels comfortable, you can experiment with extending one leg forward as you return.

This variation can be fun, but it is not required to learn a pistol squat. If rolling does not feel good for your back, neck or hips, skip it and use another progression.

Step 5: Full Pistol Squat

When you have developed enough strength, balance and mobility, you can begin practicing the full movement.

Stand on one leg and extend the opposite leg in front of you. Slowly bend your standing leg and lower as far as you can while maintaining control. Keep your foot connected to the floor and allow your knee to track naturally in the same general direction as your toes.

At the bottom, press through your standing foot and rise back up with control.

You do not need to force maximum depth. A partial pistol squat with good control is more useful than a deeper version that feels unstable or painful.

What Mobility Does a Pistol Squat Require?

A pistol squat typically requires a good amount of ankle dorsiflexion, hip mobility and control through the knee and foot.

If your heel wants to lift or you feel as though you fall backward, ankle mobility may be one of the limiting factors. Elevating your heel slightly can sometimes make the movement more accessible while you work on mobility and strength.

Single-leg balance and hip strength are also important. You may find it useful to combine pistol squat practice with step-ups, split squats, lunges and other single-leg exercises.

Common Pistol Squat Mistakes

Progressing Too Quickly

A pistol squat is a demanding skill. Give yourself time to build strength and coordination instead of forcing the full movement before your body is ready.

Chasing Perfect Knee Position

You may hear that your knee must never move beyond your toes. That is not a useful rule for a deep squat. In a pistol squat, the knee will often move forward as the ankle bends.

What matters more is that the movement feels controlled and appropriate for your body.

Losing Foot Stability

Try to keep your foot connected to the floor rather than collapsing heavily toward the inside or outside edge.

Forcing Through Pain

Muscular effort is expected. Sharp, persistent or increasing pain is a reason to stop and modify the exercise.

Do You Need to Do Pistol Squats?

No.

Pistol squats can be a fun skill and an impressive demonstration of single-leg strength and mobility, but they are not required for good fitness.

You can build excellent lower-body strength with squats, split squats, step-ups, lunges, deadlifts and other exercises.

If the pistol squat is a goal you enjoy, use the progressions above and treat it like a skill you develop gradually.

If you want more ideas for combining bodyweight and resistance training, read Bodyweight Training vs. Weight Training: Which Is Better?.

If you would like individualized help building single-leg strength, balance and mobility, learn more about Personal Training in Nanaimo.

Pistol Squat Tutorial and Variations